CASE STUDY
Starlink Gen 3 Installation in Newcastle and Northumberland
Slow and unreliable broadband can create serious problems for households and businesses, particularly when several people and devices depend on the same connection.
Between April and June 2026, the team completed several professional Starlink Gen 3 installations at domestic and commercial properties across Newcastle upon Tyne and Northumberland.
The installations helped customers move away from slow broadband connections, weak Wi-Fi coverage, buffering and frustrating internet blackspots. Following installation and testing, customers achieved stable download speeds exceeding 300Mbps, with one customer reporting speeds of more than 400Mbps from the main Starlink router.
SPEEDS OVER 300MBPS
Fast, relaible internet across the property
No More Dead Spots
Strong Wi-Fi coverage in every room
Professional Installation
Clean tidy and built to last
Ongoing Support
Help and support when you need it
THE CUSTOMER’S BROADBAND PROBLEM
One of the featured customers had previously been using Sky broadband and was receiving download speeds of approximately 26Mbps and upload speeds of around 16Mbps.
The connection was affected by:
- Slow download speeds
- Unreliable performance
- Buffering
- Weak Wi-Fi coverage
- Areas of the property with little or no usable signal
- Difficulty connecting numerous devices reliably
The property was an older home with thick walls and a 31-square-metre kitchen extension. These structural features made it difficult for the existing Wi-Fi signal to reach every part of the property.
Although the property was not affected by its distance from the local broadband cabinet, the speeds available through the existing service were not sufficient for the customer’s needs.
Starlink was selected because of the significantly faster broadband speeds it could provide.
FREE PRE-INSTALLATION VISIT
Before completing a Starlink installation, the team provides a free pre-installation visit.
This allows the installers to:
- Check the property for a suitable Starlink signal
- Assess the surrounding area for possible obstructions
- Identify the best position for the Starlink dish
- Discuss the proposed cable route
- Explain the installation process
- Confirm which brackets, poles and adaptors will be needed
The properties featured in these installations had a clear view of the sky, with no significant problems caused by nearby buildings, trees or rooflines.
INSTALLING THE STARLINK GEN 3 SYSTEM
The customers supplied their own Starlink Gen 3 equipment for these installations. However, Starlink equipment can also be supplied as part of the installation service when required.
The mounting system included:
- A compatible Starlink adaptor
- T and K wall brackets
- A 1.5-inch mounting pole
- Secure wall fixings
- External cable clips
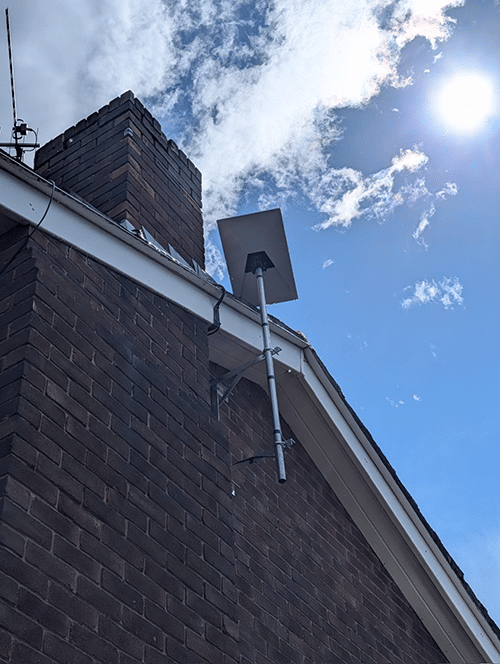
The Starlink dish was positioned at the gable end of the property. This provided the system with a strong, unobstructed view of the sky while keeping the installation neat and secure.
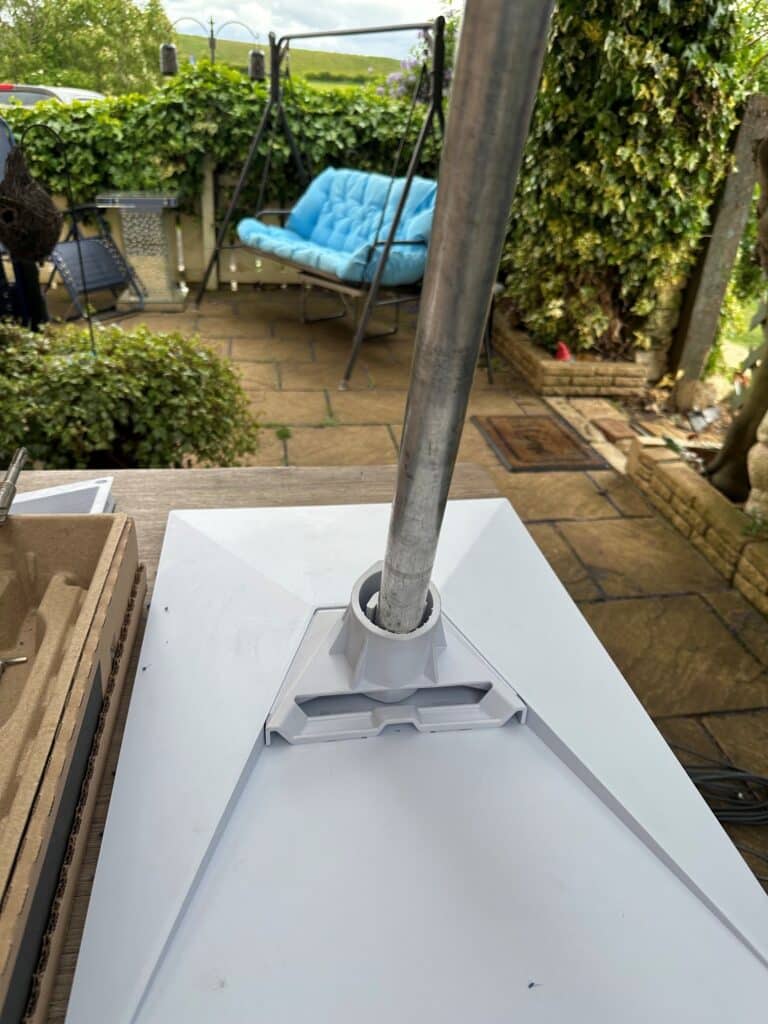
The dish was assembled and attached to the pole using the appropriate Starlink mounting adaptor. The pole was then secured to the property using robust T and K brackets.
Each installation took approximately one to three hours to complete, depending on the property and the internal network requirements.
THE INSTALLATION PROCESS

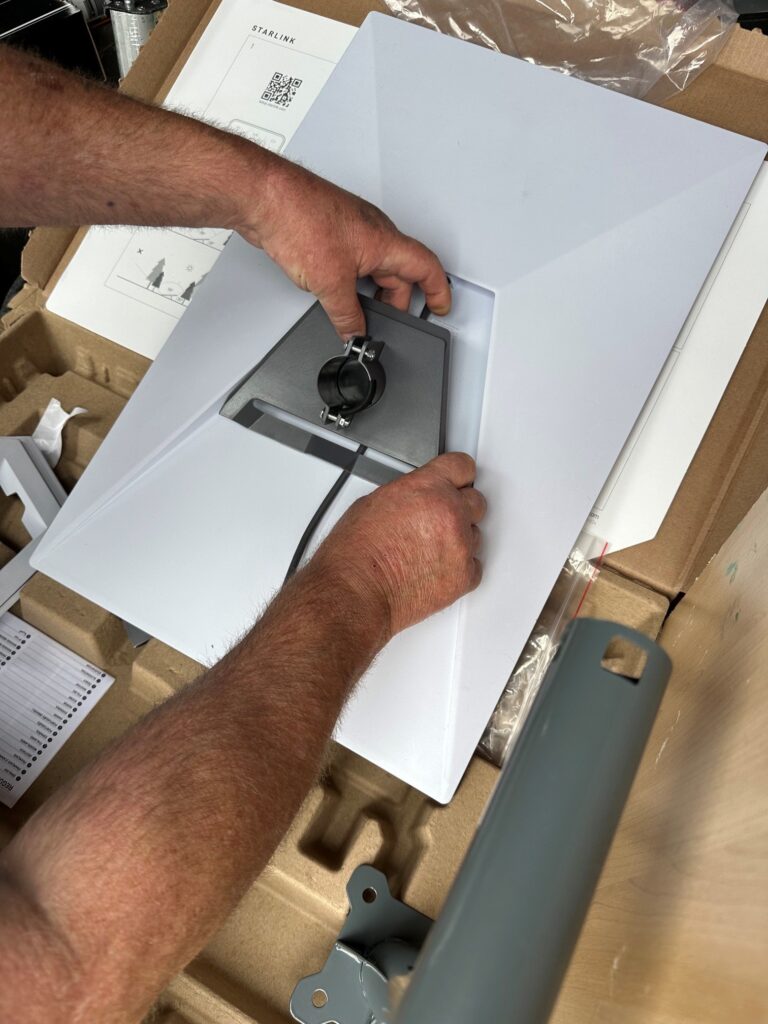
Preparing the Starlink Gen 3 equipment and mounting components.
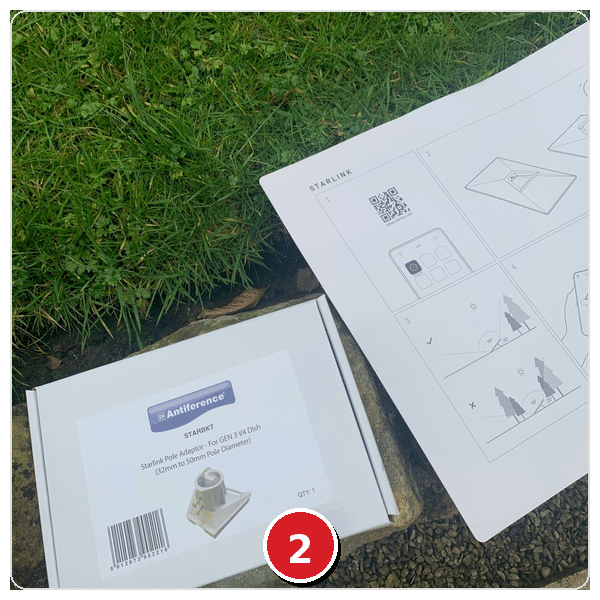
Starlink adaptor, T&K bracket and 1.5″ pole system used for mounting.
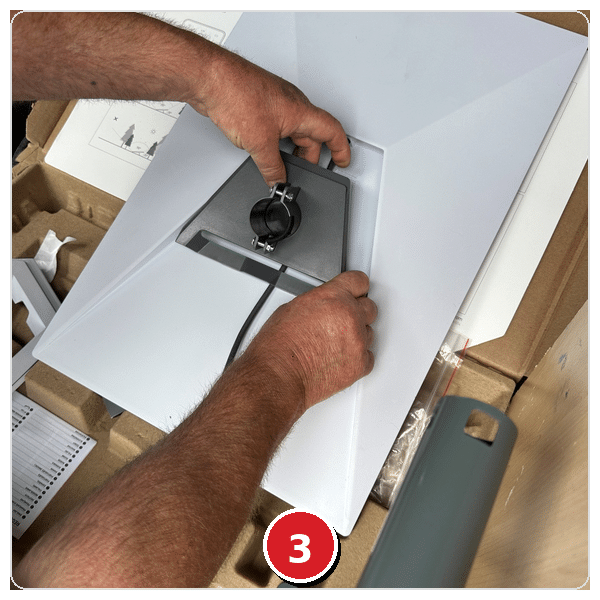
Fitting the mounting adaptor to the Starlink Gen 3 dish.
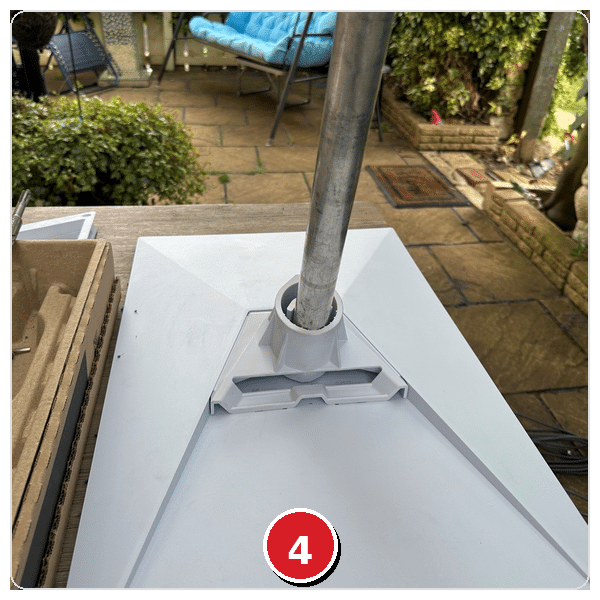
Starlink Gen 3 dish attached to the pole and ready for installation.
Dish mounted at the gable end for a clear, unobstructed view of the sky.
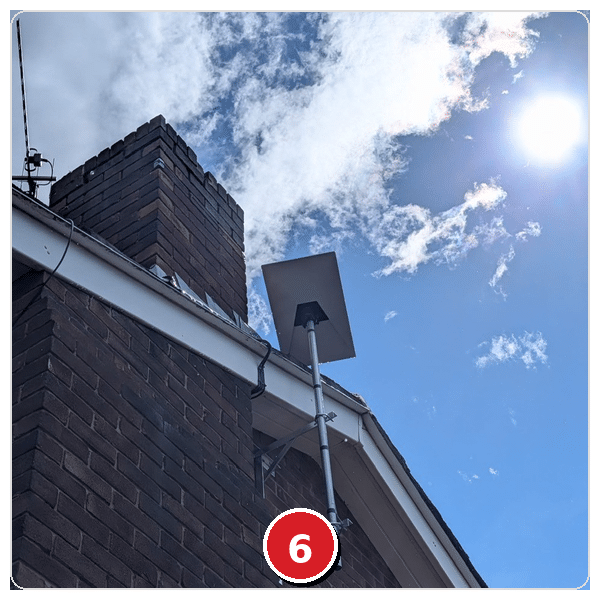
Professional installation completed. Neat, secure and built to last.
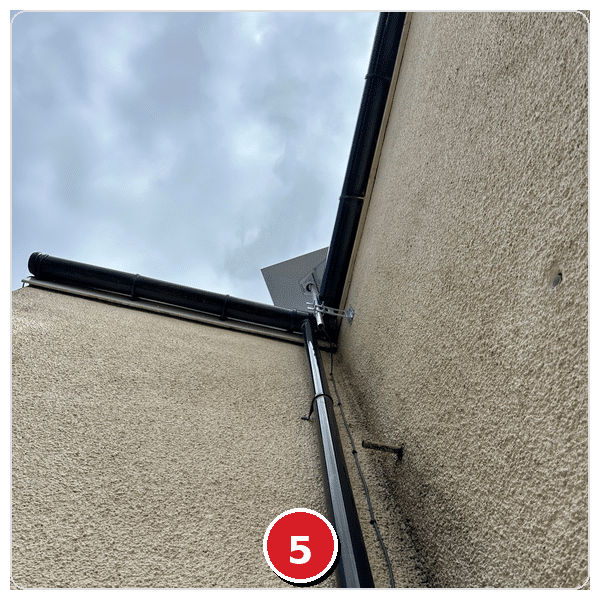
ROUTING THE STARLINK CABLE
Once the external equipment was securely mounted, the Starlink cable was routed neatly down the outside of the property.
A 16mm opening was drilled through the brickwork to bring the cable inside. The cable was then connected to the Starlink router and the system was configured for the customer.
Care was taken to ensure the external cable run was tidy and securely clipped against the property.
CONFIGURING THE INTERNAL WI-FI NETWORK
Installing the dish was only part of the solution.
The older property had thick walls and a large kitchen extension, which created a Wi-Fi dead spot. An additional Starlink mesh router was therefore installed in the kitchen to improve coverage throughout the extension.
The team configured the Starlink network, connected the customer’s devices and tested the Wi-Fi signal throughout the property.
This ensured that the improved broadband speed could be used in the areas where the customer needed it most, rather than only in the room containing the main router.
THE INSTALLATION PROCESS
Due to thick walls and a large kitchen extension, an additional Starlink mesh router was installed in the kitchen to eliminate the Wi-Fi dead spot.
- 1 additional Starlink mesh router installed
- Positioned in the kitchen extension
- Customer devices connected and configured
- Wi-Fi coverage tested throughout the property
SPEED TEST RESULTS
- Download speeds exceeding 300Mbps achieved
- Speeds over 300Mbps from main router
- Speeds over 300Mbps in previous dead spot
- Stable connection during testing
- Speed tests completed in several rooms
- Significant improvement from 26Mbps download with Sky broadband
This represented a major improvement over the customer’s previous Sky broadband connection, which had delivered speeds of approximately 23Mbps to 26Mbps.
Starlink performance can continue to optimise during the hours following the initial installation as the system establishes and adjusts its connection.
Lee Watkinson
The lads came round promptly and gave me a detailed quote to install my new Starlink Gen 3 residential satellite internet kit.
After agreeing a price, the guys came round a few days later when the kit arrived to install. Job done within the hour and all tidied up after.
Old house, thick walls and a 31m² kitchen extension presented some issues. However, we worked through them together and, with the installation of a Starlink Mini mesh wireless router, we are now seeing 400+Mbps from the main router and the problematic dead spot kitchen is now achieving 200+Mbps.
Previously on Sky Superfast Broadband at 23Mbps.
Lee Watkinson – Five-star Google review
Stephen Squires
Mick and Dahl came today and installed our new Starlink panel on the roof and set up our system, ensuring that everything was working as it should.
Even used Henry Hoover to leave the room spotless. Two of the nicest blokes and would highly recommend their services.
STARLINK INSTALLATION FOR HOMES AND BUSINESSES
Professional Starlink installation is available for both domestic and commercial properties across the North of England.
The service can include:
- A free pre-installation property visit
- Signal and obstruction assessment
- Installation of customer-supplied Starlink equipment
- Supply of Starlink equipment when required
- Starlink Gen 3 dish installation
- Supply and fitting of poles, brackets and mounting adaptors
- External cable routing
- Internal router configuration
- Starlink mesh Wi-Fi installation
- Connection of customer devices
- Wi-Fi coverage testing
- Post-installation support
Every property is different. The installation is therefore planned around the building, the available mounting positions and the areas where dependable Wi-Fi coverage is required.